Javascript
Hands-on JavaScript projects and guides for building interactive websites.

File uploads are everywhere on the web.
Users upload:
profile pictures
documents
product images
resumes
identity proofs
Yet, one of the most common frustrations users face is uploading the wrong file by mistake.
Once the file is submitted:
users realize the error too late
they must re-upload
trust in the interface drops
A file preview before upload solves this problem elegantly.
In this post, we’ll:
understand the real UX problem
explore the correct JavaScript solution
build a modern file upload preview UI
explain every part of the code clearly
A basic file upload usually looks like this:
<input type="file">
From a developer’s point of view, this works.
From a user’s point of view, it’s incomplete.
“Did I select the right file?”
“Is this the correct image?”
“Why does nothing change after selecting a file?”
Without visual confirmation:
users hesitate
mistakes increase
UX feels outdated
The problem is not file uploading.
The problem is lack of feedback.
A proper file upload experience should:
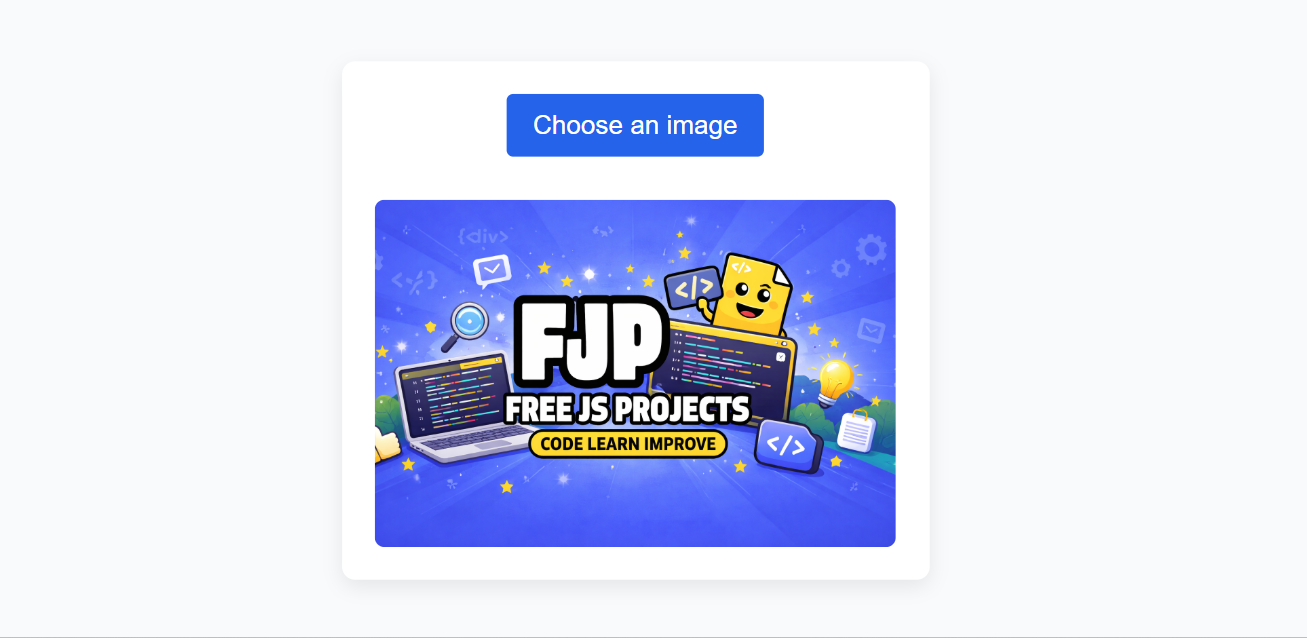
instantly show the selected file
work without server interaction
feel fast and reassuring
be simple to understand
JavaScript provides exactly what we need through the FileReader API.
The FileReader API allows JavaScript to:
read files selected by the user
access file content locally
preview files before uploading
Important points:
no backend required
works entirely in the browser
secure (user-initiated only)
This makes it perfect for previews.
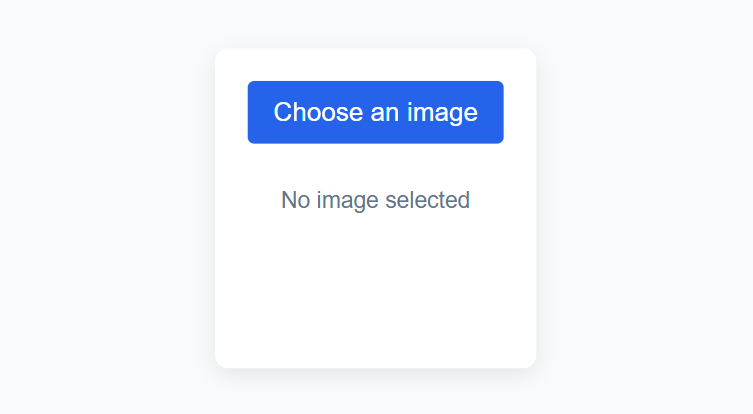
✔ clean file upload card
✔ image preview
✔ placeholder state
✔ responsive layout
✔ beginner-friendly structure
<div class="upload-box">
  <label class="upload-label">
    Choose an image
    <input type="file" id="fileInput" accept="image/*" hidden />
  </label>

  <div class="preview-container">
    <img id="previewImage" alt="Image preview" />
    <p id="previewText">No image selected</p>
  </div>
</div>
<label> → clickable upload button
input[type="file"] → hidden for custom styling
accept="image/*" → restricts file type
<img> → shows preview
<p> → placeholder text
This structure works well in:
profile pages
admin panels
dashboards
forms
body {
  font-family: sans-serif;
  background: #f8fafc;
}

.upload-box {
  max-width: 360px;
  margin: 40px auto;
  padding: 20px;
  background: #fff;
  border-radius: 8px;
  text-align: center;
  box-shadow: 0 4px 12px rgba(0,0,0,0.08);
}

.upload-label {
  display: inline-block;
  padding: 10px 16px;
  background: #2563eb;
  color: #fff;
  cursor: pointer;
  border-radius: 4px;
  margin-bottom: 16px;
}

.preview-container {
  margin-top: 10px;
}

.preview-container img {
  max-width: 100%;
  border-radius: 6px;
  display: none;
}

.preview-container p {
  color: #64748b;
  font-size: 14px;
}
card-based layout feels modern
clear call-to-action
visual hierarchy is simple
mobile-friendly by default
easy to restyle later
const fileInput = document.getElementById('fileInput');
const previewImage = document.getElementById('previewImage');
const previewText = document.getElementById('previewText');

fileInput.addEventListener('change', () => {
  const file = fileInput.files[0];

  if (!file) return;

  const reader = new FileReader();

  reader.onload = () => {
    previewImage.src = reader.result;
    previewImage.style.display = 'block';
    previewText.style.display = 'none';
  };

  reader.readAsDataURL(file);
});
const fileInput = document.getElementById('fileInput');
Accesses the file input element.
const previewImage = document.getElementById('previewImage');
Used to display the selected image.
const previewText = document.getElementById('previewText');
Shows placeholder text when no file is selected.
fileInput.addEventListener('change', () => {
change fires when user selects a file
triggered only by user action (secure)
const file = fileInput.files[0];
files is an array-like object
we read the first selected file
const reader = new FileReader();
Creates a new FileReader instance to read file content.
reader.readAsDataURL(file);
converts file into a Base64 URL
perfect for image previews
reader.onload = () => {
  previewImage.src = reader.result;
};
runs after file is fully read
assigns preview image source
instantly updates UI
file is read locally
no server upload
no network delay
smooth user experience
✔ prevents wrong uploads
✔ builds user confidence
✔ reduces form errors
✔ modern UX expectation
✔ easy to implement
✔ works offline
file size validation
file type validation
remove / change image button
multiple file previews
drag & drop support
profile image uploads
document submission forms
product image uploads
admin dashboards
Avoid previews when:
files are extremely large
preview adds no value
A file upload preview is a small feature with a big UX impact.
It:
reassures users
reduces mistakes
makes your interface feel professional
When you add this feature, your project moves from basic functionality to real-world usability.
Happy Coding! 🚀


Comments